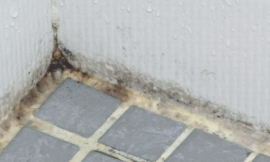
Even though there are different cleaners available in stores designed for silicone joints, the most effective long-term way to improve the room’s aesthetics and to get rid of joint mold is the complete replacement of the silicone sealant. You can do it by yourself, even if you don’t have specialized skills and professional tools.
🟨 Choosing the sealant
For the kitchen and bathroom you need moisture & mildew high-resistance type of sealant. For the ceramic/steel sink, you can use less expensive acetic sealant – with a typical acetic smell. However, if you want to seal an acrylic bathtub, a PVC shower cabin, a composite sink or decorative copper fittings, it’s imperative to use a neutral sealant.
🟩 Surface preparation guide
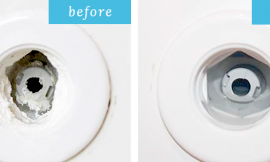
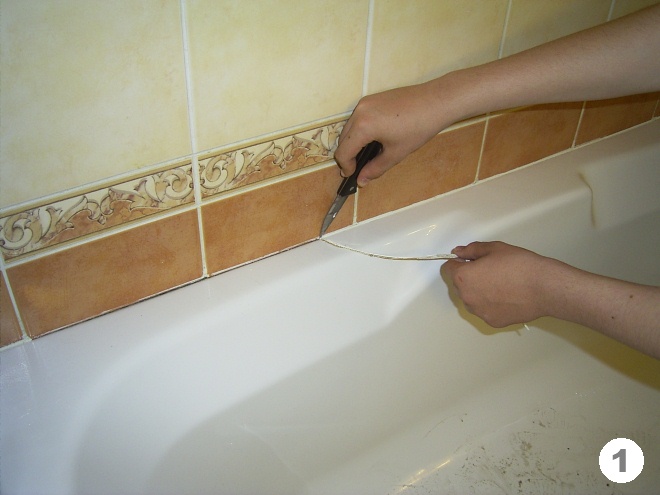
🔘 First, the grout attacked by mold should be removed with a special tool or a sharp knife (photo no. 1). This is not a difficult task (photo no. 2).

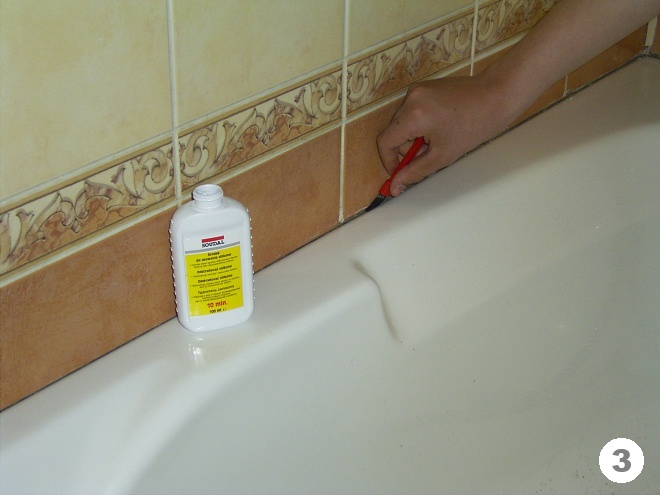
🔘 If, however, silicone is old and hardened, you can use any liquid silicone remover you find in the store (photo no. 3).
🔘 After removing the silicone residue in the space between the tub/sink and wall, carefully remove the dust present there – degrease it with a natural detergent (we recommend avoiding chemicals – it can make acrylic surfaces lustreless).
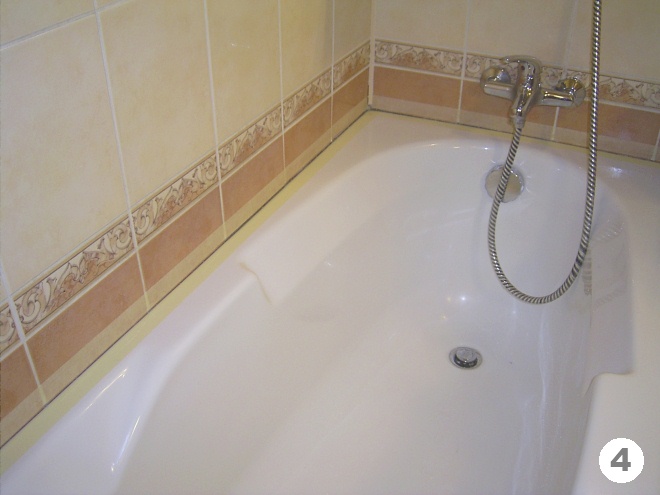
🔘 If you want the cleanest possible result and you’re not sure if you can apply the sealant in a perfectly straight line, especially in hard-to-reach places, then it’s best to use masking tape. Apply the tape so it covers both sides of the line to be sealed, and then remove the tape before the silicone sealant is dry. (photo no. 4).
🔘 For best results, before applying the sealant in the space between the tub and wall, fill half the tub with hot water.
🟪 Sealant application
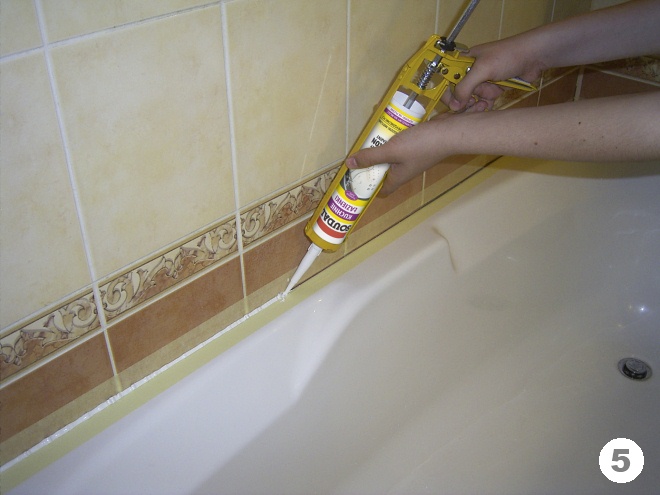
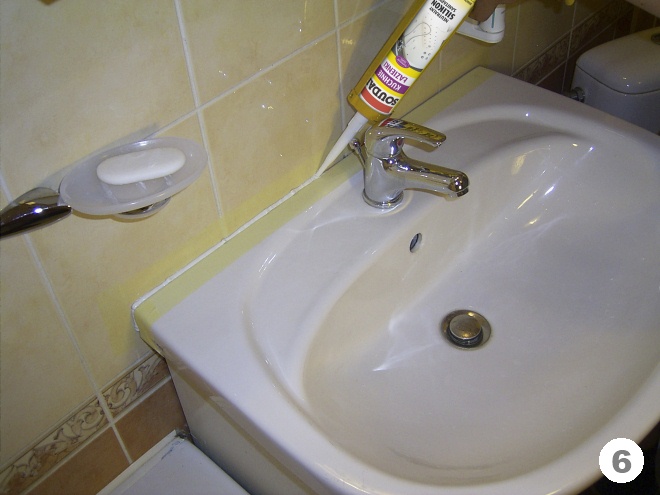
🔘 Apply a small amount of sealant using the special designed device (photo no.5 and no. 6). The best working position is to hold the sealant gun at an angle of 45° and to pull the gun towards yourself. To apply the sealant neatly you need to find the right working speed. If you move too slowly you’ll get a bumpy, irregular sealant surface, and you’ll waste sealant unnecessarily. If you move too quickly you won’t get good filling of the gap. When you reach the end of the seam release the handle and press the button or lever at the back of the sealant gun. This releases the pressure so the flow of sealant stops immediately. If you don’t do this the sealant will keep coming out of the nozzle.
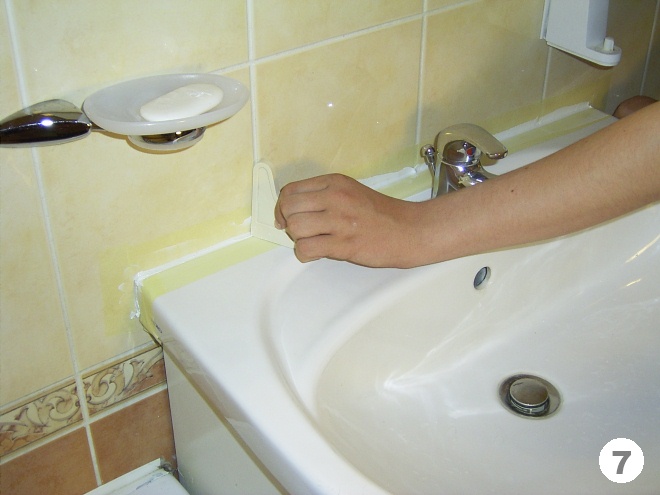
🔘 Wet your finger (or a spatula) with some soapy water in a dish or basin and then smooth out the seam. The soap prevents the silicone sealant from sticking to your finger. You can also apply some soapy water with a plant spray. Remove any remaining traces of sealant with the soapy water. After the sealant has dried you can remove it with a knife and a hard sponge. Special spatulas and cleaners are available to apply and remove silicone sealant (photo no. 7).
🔘 Remove the masking tape and let the sealant dry for a few hours.
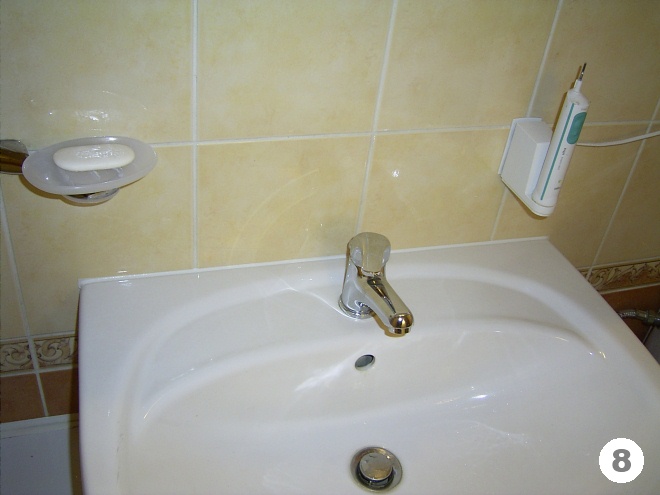
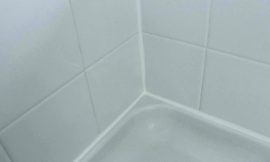
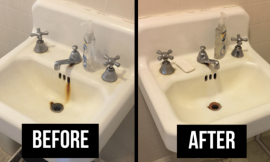
🔘 The final result will surely be satisfactory – a perfectly sealed sink (picture no. 8)